| Document number | Revision |
|---|---|
| DOCU12445 | 2 |
Dynamic Lists - Configuration
Dynamic Lists - ConfigurationIntroductionWhen to use Dynamic ListsGuidesAccessing Dynamic ListsAccessing list entriesCreating a new Dynamic ListAdd entry to an existing listDisable an existing active Dynamic ListObsolete entries from an existing listConfigurationSecurityConfigure Dynamic Lists in the side navigation menuSamplesUse a Dynamic list as a field on all Documents
Introduction
A Dynamic List is a quick and easy way to create and manage lists and their associated entries to be used throughout Highstage. In this article, you will be introduced to the configuration and use of Dynamic Lists in Highstage.
When to use Dynamic Lists
Dynamic Lists can be created and continuously managed by Highstage users directly from Highstage. For this reason, it is beneficial to utilize Dynamic Lists when entries needs to be regularly maintained, configured or added to.
Guides
Accessing Dynamic Lists
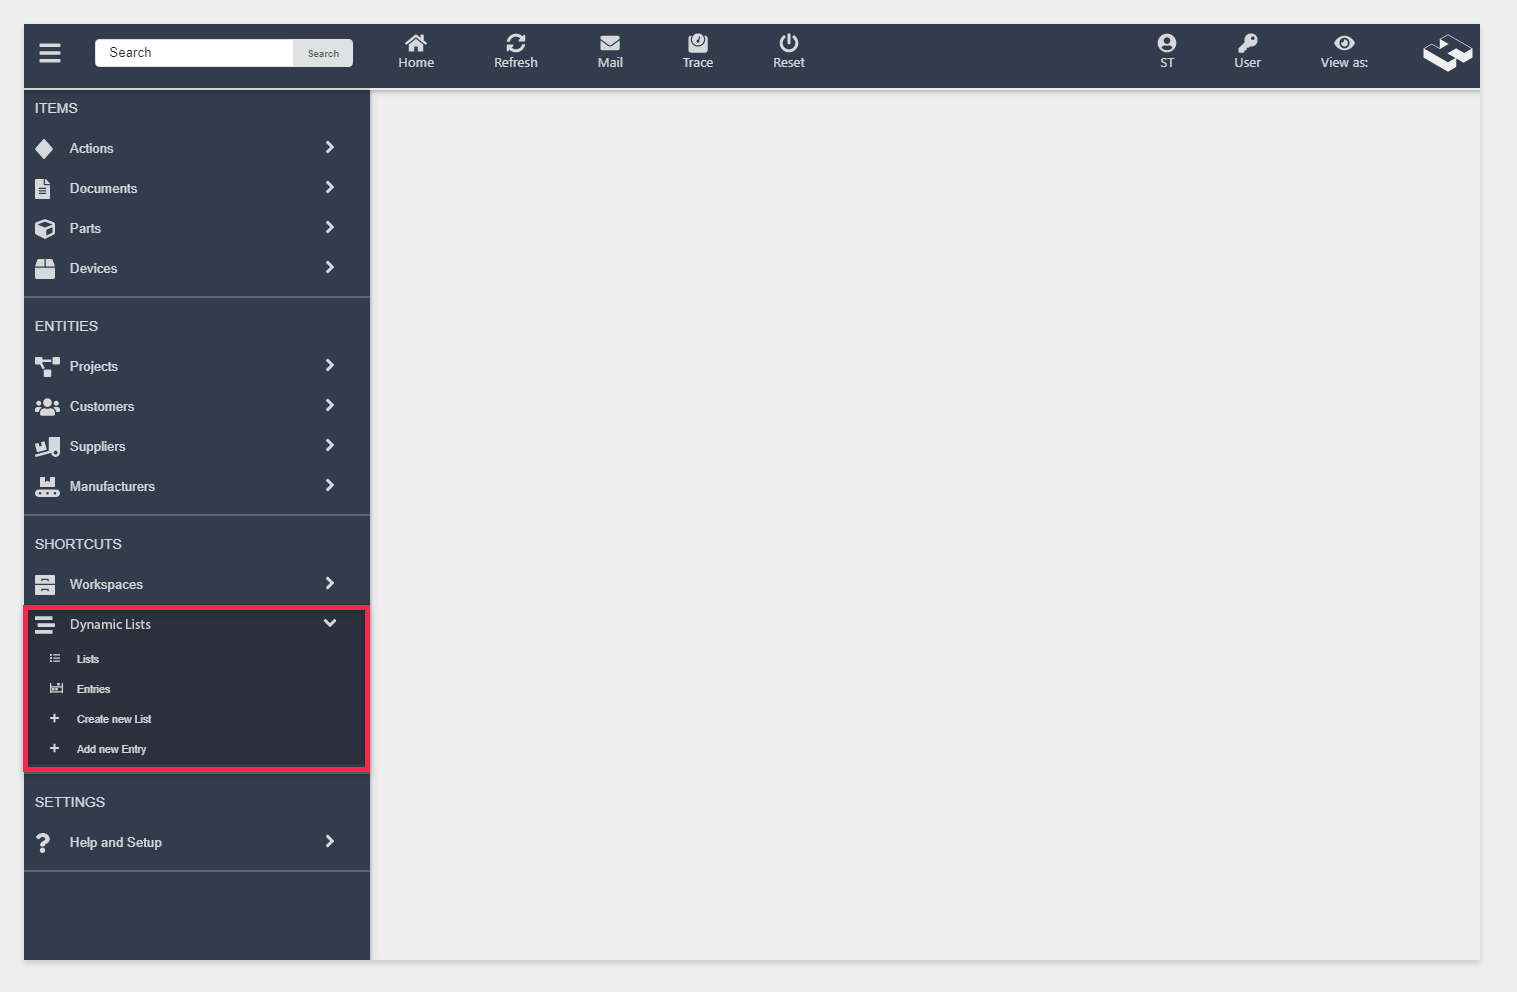
All available lists can be accessed by navigating to Dynamic Lists > Lists in the side navigation menu:
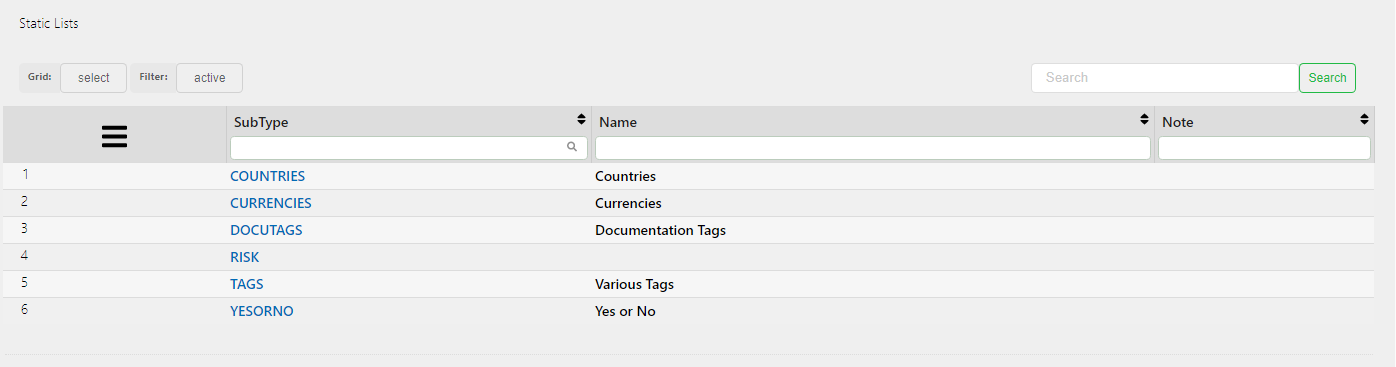
From here, you get an overview of all available and active Dynamic Lists.
Accessing list entries
All existing entries for all lists can be accessed by navigating to Dynamic Lists > Entries in the side navigation menu:
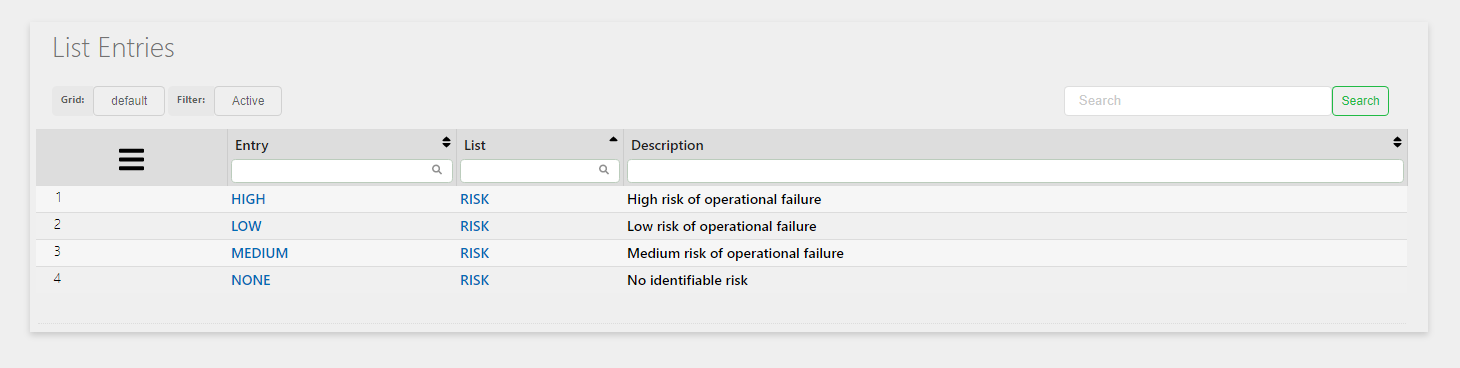
From here, you get an overview of all entries associated with all active Dynamic Lists.
Creating a new Dynamic List
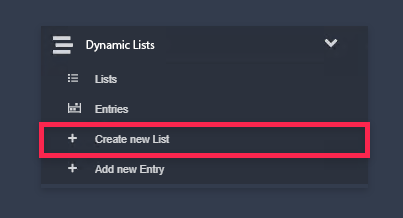
- Access Dynamic Lists and click Create new List:
- In the Subtype field, specify a name for the new Dynamic List and click CREATE:
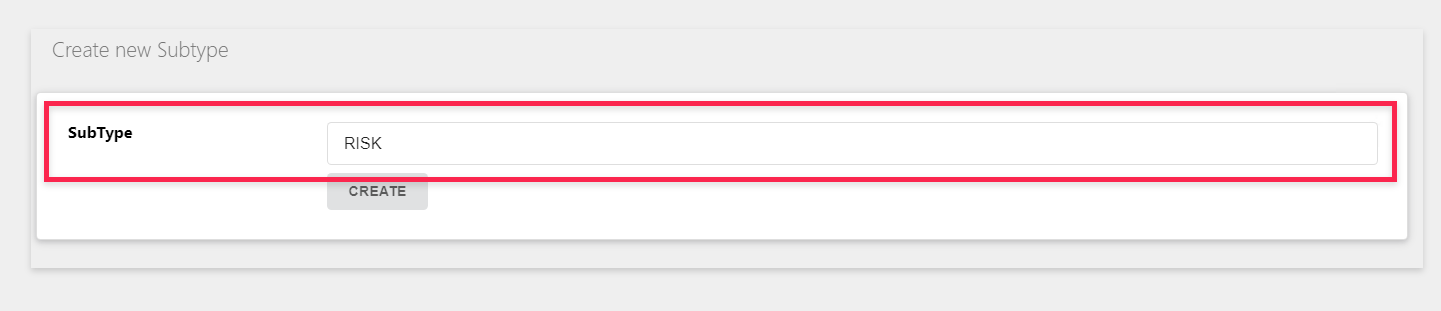
NOTE: You must specify the name in capital letters. The following characters are permitted: ABCDEFGHIJKLMNOPQRSTUVWXYZ0123456789-.
Once the list is created, you are navigated to the list page:
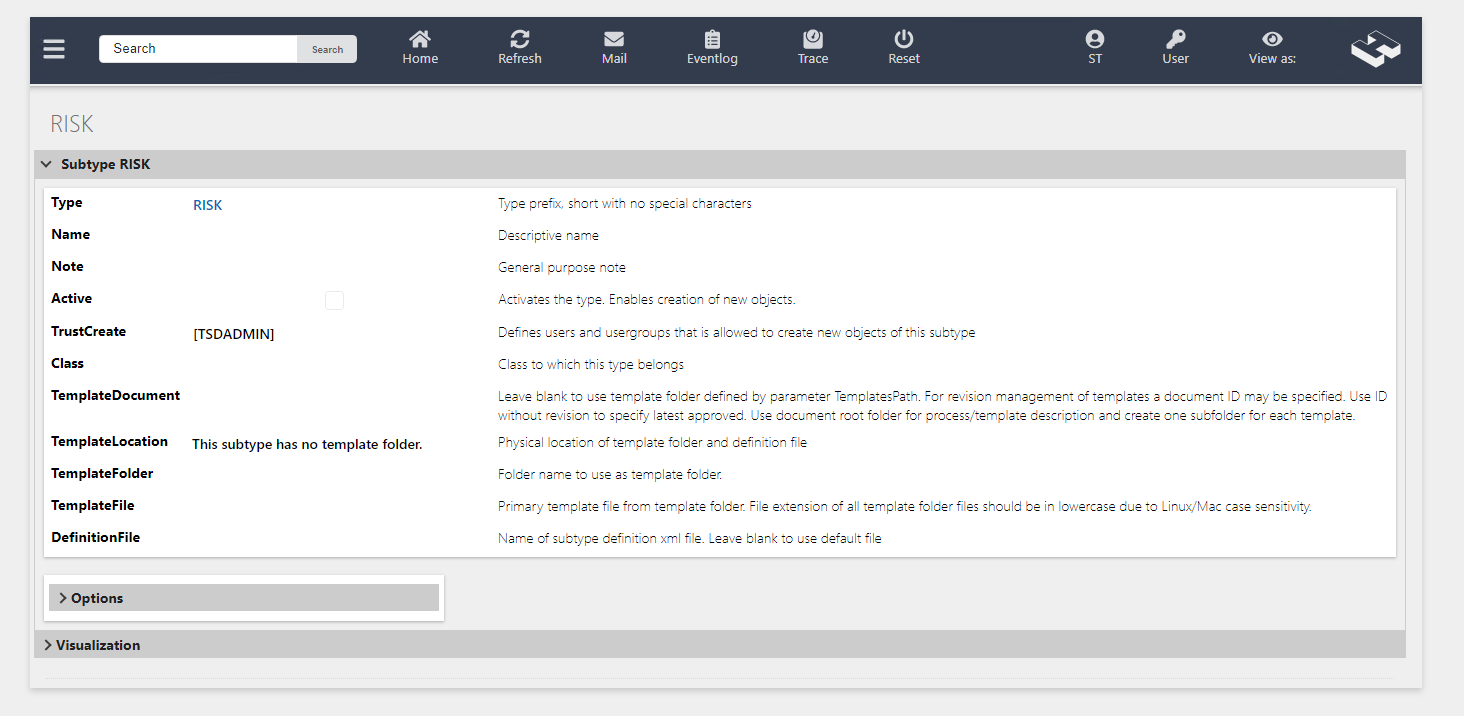
- Check the
Activecheckbox to make the list active to allow entries to be added to the list:
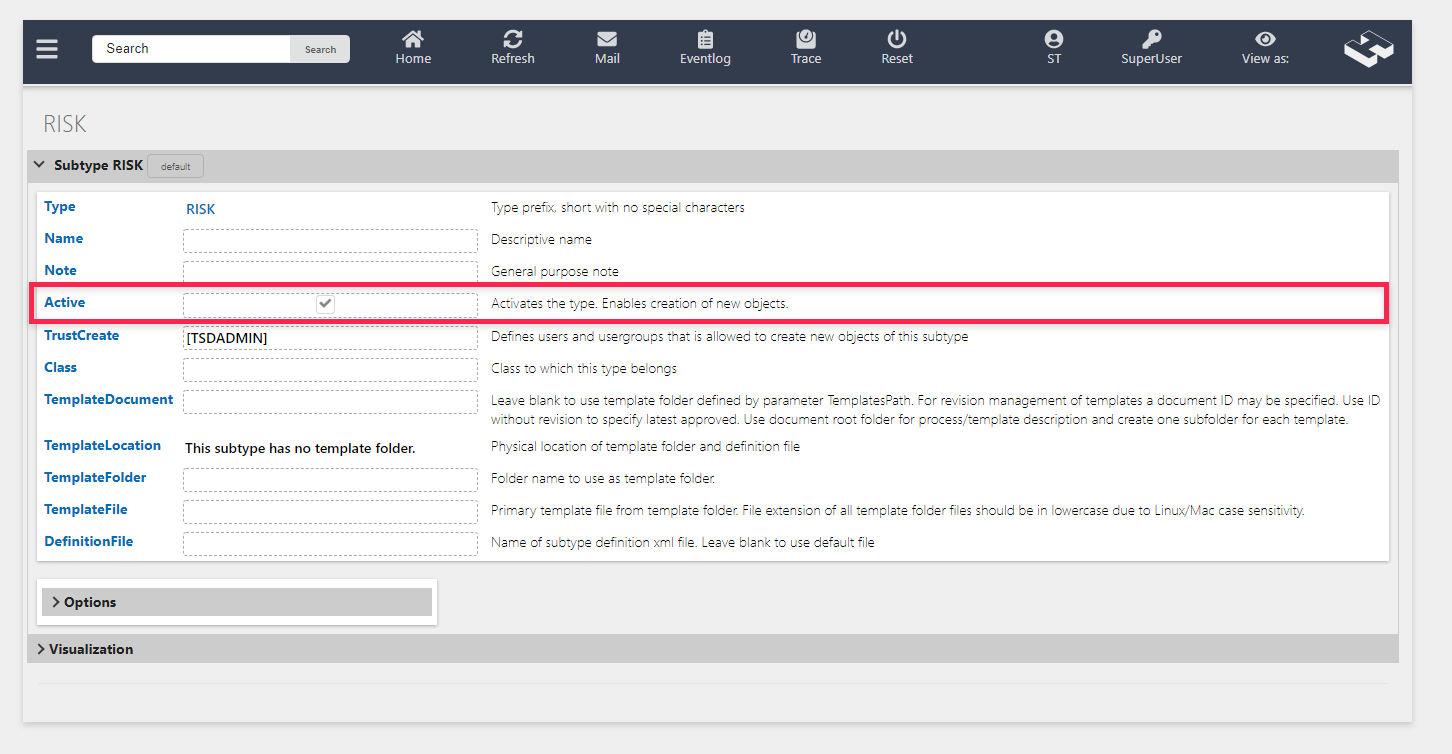
NOTE: Activating the list requires a minimum user level of SuperUser.
Add entry to an existing list
- Navigate to Dynamic Lists and click Add new Entry in the side navigation menu:

- Fill out the appropriate fields:

NOTE: You must specify the entry in capital letters. The following characters are permitted: ABCDEFGHIJKLMNOPQRSTUVWXYZ0123456789-.
| Field | Description | Required |
|---|---|---|
Add to existing list | Select an existing Dynamic List for the new entry to be added to. | ✔️ |
Entry | The name of the new entry in the Dynamic List (In capital letters) | ✔️ |
Description | An optional entry description | ❌ |
Manager | Select a user as Manager who is responsible for managing and modifying the select entry.(Default manager is the user who creates the entry) | ✔️ |
- Click CREATE to create the entry to be added to the specified Dynamic List.
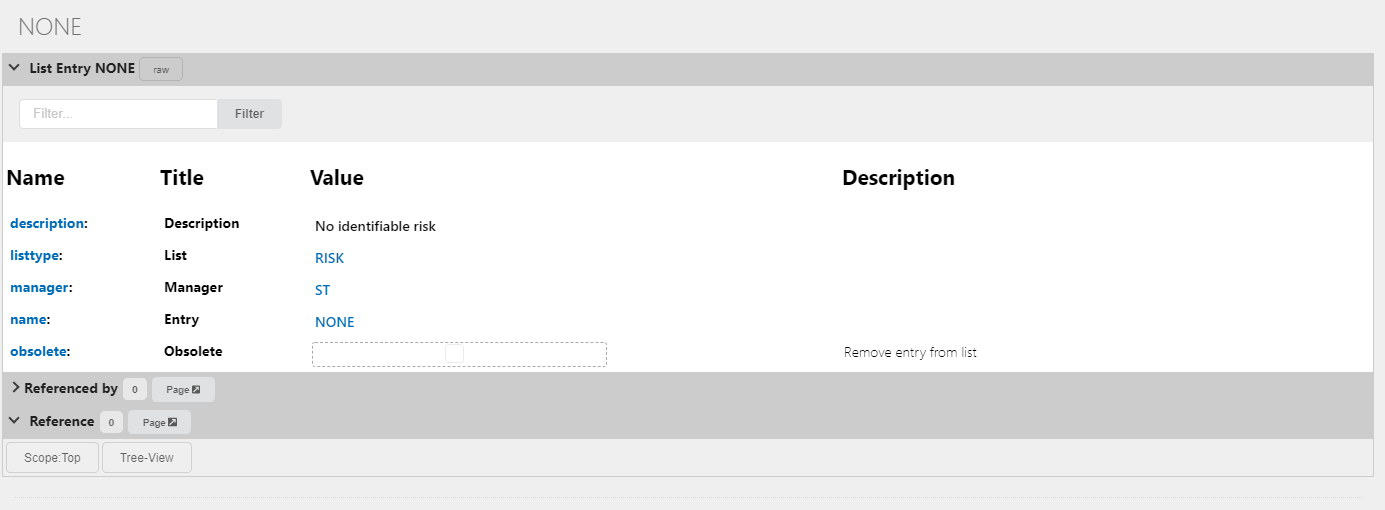
Once created, you are navigated to the list entry:
Disable an existing active Dynamic List
A disabled Dynamic List cannot be used in Highstage. Similarly, new entries cannot be added to disabled lists.
- Navigate to Dynamic Lists > Lists in the side navigation menu.
- Click on the link to the appropriate list.
- Uncheck the
Activefield.
Note: To get an overview of all deactivated lists you can modify the Filter to show inactive Dynamic lists.
Obsolete entries from an existing list
You can remove entries from an existing list by making them obsolete.
- Navigate to Dynamic Lists > Entries in the side navigation menu.
- Click on the link to the appropriate entry.
- check
Obsolete.
Note: To get an overview of all obsoleted entries, change the filter to Obsolete to show all obsoleted entries. Obsoleted entries can always be activated by unchecking the
obsoletefield.
Configuration
Security
Navigate to SYSTEM > SECURITY > BASETYPE SECURITY and locate the ts_list basetype.
- Configure
TrustReadwith appropriate Users / Groups / Special Roles to define which users who are able to view/read existing Dynamic Lists and their entries. - Configure
TrustModifywith appropriate Users / Groups / Special Roles to define which users who are able to modify and configure existing Dynamic Lists and their entries. - Configure
TrustCreatewith appropriate Users / Groups / Special Roles to define which users who are able to create new Dynamic Lists and their entries.
Configure Dynamic Lists in the side navigation menu
Dynamic Lists are available as a Dynamic section which can be added to the side navigation menu so that it is accessible to select Highstage users and not only Administrators.
The following sample illustrates how Dynamic Lists can be added to the side navigation menu:
x
<type name="ts_menu"> <menu name="default"> <section name="DynamicLists" size="medium" icon="fas fa-stream" type="ts_list"/> </menu> </type>Note: The snippet must be added to the
custom.schema.xmllocated in the tweak folder where Highstage is installed.
This will make the following section available in your Highstage installation:
Read more about the configuration of the side navigation menu on our official Highstage documentation page here.
Samples
All snippets must be placed in the custom.schema.xml located in the tweak folder in your Highstage installation.
For any changes to take effect, please do the following:
- To load new columns please navigate to SYSTEM > SCHEMA and click Apply (Only required when new columns are defined).
- For all changes to take effect you must Reset Highstage from the top header menu.
Use a Dynamic list as a field on all Documents
The following snippet provides an example of defining a new column that makes use of an existing RISK Dynamic List with a number of existing entries:
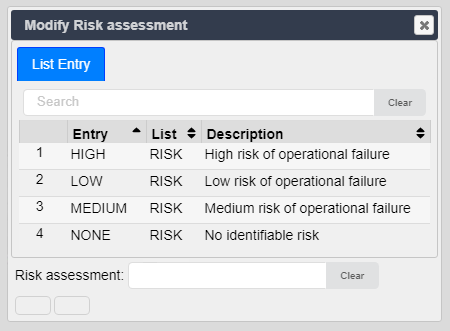
x <type name="doc"> <column name="risk" title="Risk assessment" description="Risk" sqltype="varchar" sqlsize="200" mandatory="1" reload="1" sqlnull="0" sqldefault="('')" objlist="0" type="RISK"/> <form name="default"> <subform name="Risk" title="Risk Assessment"> <field name="risk" /> </subform> </form> </type>This makes a subform (Risk Assessment) available with a field for the specified column:

From this field, a user can select one existing entry from the list:
Tip: We use
objlist="0"to specify that only one value must be selected for the column. In this manner, we ensure that only one risk evaluation can be selected.
