| Document number | Revision |
|---|---|
| DOCU12259 | 4 |
Automated email reminders in Highstage (Configuration)
Automated email reminders in Highstage (Configuration)BackgroundConfigurationProcedureCustomization tipsAvoid sending mails whilst testingCustomize the title for the email notification
Background
For items in Highstage, it is possible to make a simple configuration to send an email reminder/notification to a user regarding items in Highstage after a set amount of time.
In this article, you will be introduced to the setup and configuration of automated reminders in Highstage.
Configuration
For mail reminders, you can make the following configurations:
- Specify any number of items in a search list as the items to receive notifications for.
- Set a time period to specify the timespan before a reminder is sent.
- Specify the time and interval for how often to check for new items that satisfies the set timespan.
- Specify the resources (users) who should receive email reminders.
- Specify a fallback user to receive an email reminder.
- Customize the email reminder with an added subject title
Note!
Reminders/notifications are only sent once. Highstage keeps track of which items has already surpassed a set timespan and has subsequently sent out email reminders to the appropriate users. Thus, a user will only receive one reminder/notification for items that requires attention.
Procedure
1) Add the following snippet to your custom.schema.xml:
<job name="DefaultDateReminder" time="07:00"> <url name="Default"> <![CDATA[ ts/mail/reminder/generic.aspx? ]]> </url> </job>The <job> element supports a time and interval property. In this example on the first line in the code snippet, a time property is used. This property makes a check everyday at 07:00 for potential new items that satisfies the set time requirements. If so, reminders will be sent to the appropriate resources (users).
Similarly, a interval can be set. This makes a check at a more frequent interval. The interval property is specified in a 24 hour format, and can be set to a minimum of 00:00 and maximum 23:59.
For instance interval="20:00" makes a check every 20 minutes.
Notice!
All elements in Highstage requires a name attribute. If a name attribute is repeated, the prior instantiation is overwritten if a new element with the same name occurs. Make sure that different <job> elements has different names.
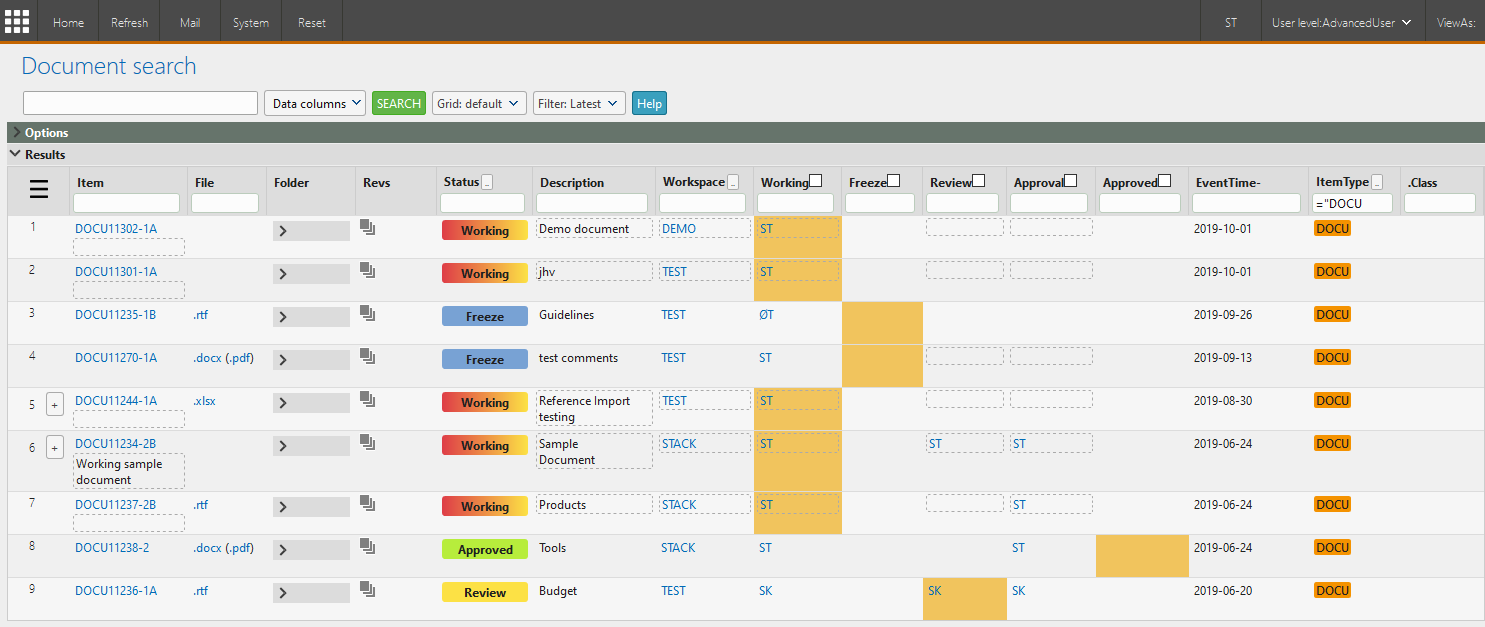
2) In Highstage, filter your search results to include the items that should be sent reminders for.
In our example, we filter for documents with an itemtype of DOCU:
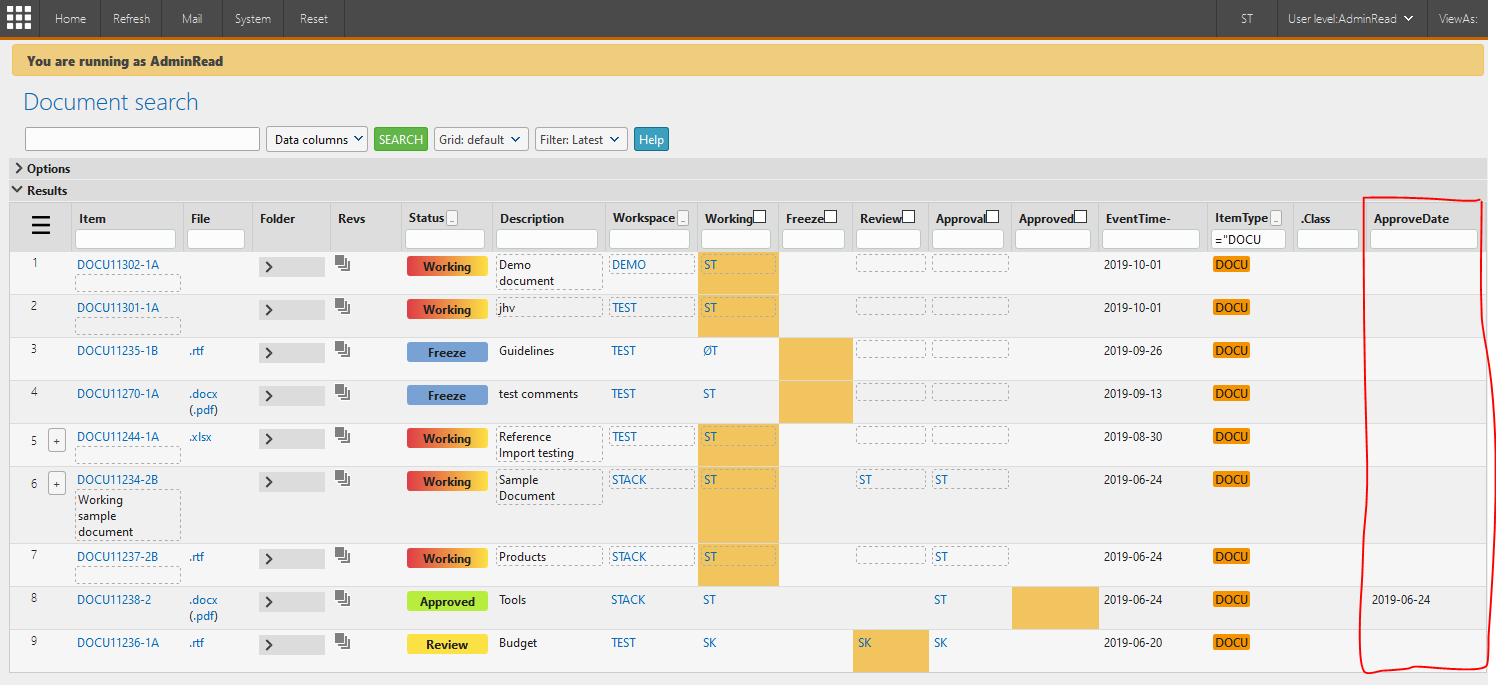
3) Add an appropriate datetime column to the search results
This date column represents the starting date, from where a certain timespan is counted from. In our example, we want to send reminders to the appropriate users a year after an item is approved. Thus, we add the column approvedate. This date represents the date, that the document is approved.
For a list of all available item columns, select 'raw' in the active form on an item.
3.1) To do so, click on Options > Design to bring up the 'Design' options for the document list:

3.2) Add an appropriate 'datetime' column in the Columns field and click APPLY DESIGN:
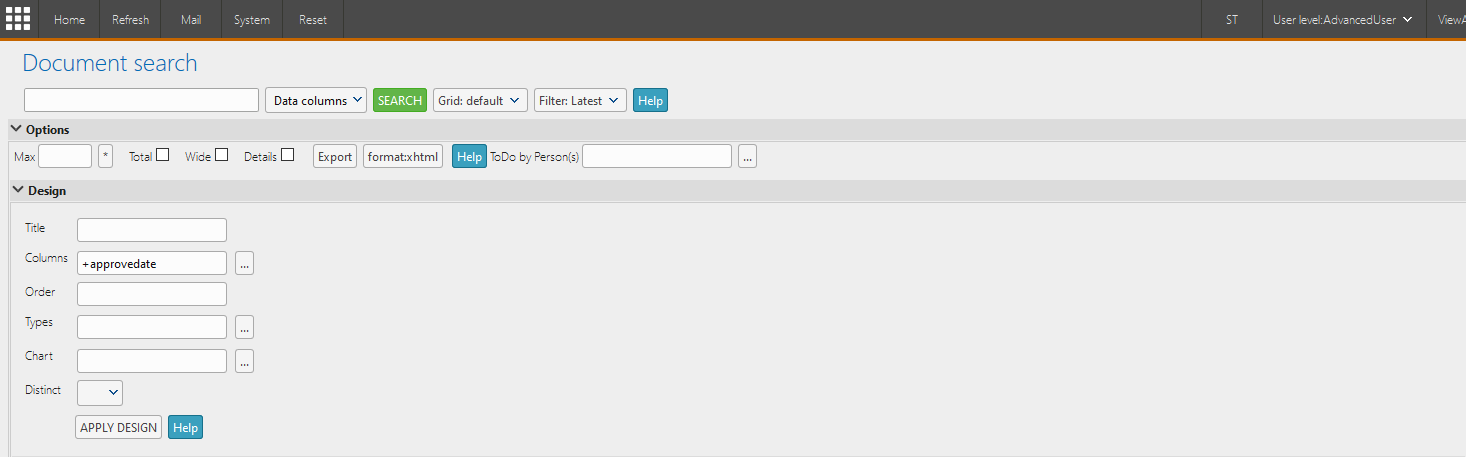
Add a + before the column, to add it to the list of existing columns.
The column is now added to the document list:
4) Add a timespan in the added datetime column for when reminders should be sent
In our example, we want to specify that reminders should be sent a month after the documents has been approved. Thus, we insert <T-0000-01-00 in the added ApproveDate column:
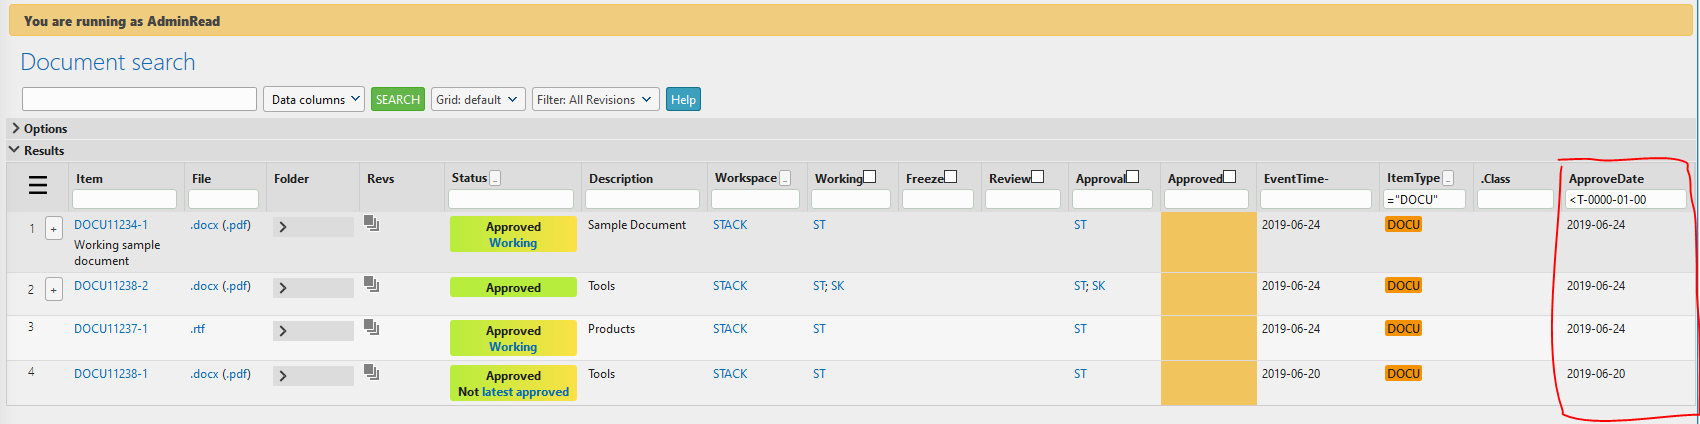
You can change
<T-0000-00-00(<T-YEARS-MONTHS-DAYS) to modify the amount of time before a reminder is sent.
Now click Enter to ensure that the added timespan is loaded.
5) Insert the item search URL into the <job> element URL in your custom.schema.xml
5.1) To do so, copy the URL from your browser:

You should only copy the URL from and including t=, as shown in the above illustration. The URL should include the item filtering and the datetime column alongside the timespan.
5.2) Paste the URL into the code snippet in your custom.schema.xml:
xxxxxxxxxx <job name="DefaultDateReminder" time="07:00"> <url name="Default"> <![CDATA[ ts/mail/reminder/generic.aspx?t=doc&_columns=%2Bapprovedate&itemtype=DOCU&approvedate=<T-0000-01-00 ]]> </url> </job>The URL should be concatenated (added) to the URL
ts/mail/reminder/generic.aspx?, as shown in the code snippet.
6) Add the resources (users) who should receive reminders
Now, we add the appropriate resources (users) who should receive email reminders after the specified amount of time for the items in the search list.
In our example, we want to email authors (editby) to be notified.
6.1) Concatenate (add) &_resourcecolumn=author to the URL in the code snippet:
xxxxxxxxxx <job name="DefaultDateReminder" time="07:00"> <url name="Default"> <![CDATA[ ts/mail/reminder/generic.aspx?t=doc&_columns=%2Bapprovedate&itemtype=DOCU&approvedate=<T-0000-01-00&_resourcecolumn=author ]]> </url> </job>
7) Add a fallback mail
In case of errors with the setup, you can set a specific mail address to receive error notifications.
In our example, we add the email of employee@highstage.dk as a fallback email.
7.1) Concatenate (add) &_resourcefallback=employee@highstage.dk to the URL in the code snippet:
xxxxxxxxxx <job name="DefaultDateReminder" time="07:00"> <url name="Default"> <![CDATA[ ts/mail/reminder/generic.aspx?t=doc&_columns=%2Bapprovedate&itemtype=DOCU&approvedate=<T-0000-01-00&_resourcecolumn=author&_resourcefallback=employee@highstage.dk ]]> </url> </job>
8) Save your changes to custom.schema.xml and reset Highstage.
Well done. You have set automatic reminders for items in Highstage.
Customization tips
Avoid sending mails whilst testing
For testing purposes, you can add &_test="1" to the URL to avoid sending emails to the resources (users) while testing your configuration.
Customize the title for the email notification
By default, the email subject line reads "Reminder for Document XX". You can modify this subject line by adding &_title= to the URL snippet.
For instance, the following snippet will result in the email subject line "This item was last approved a year ago. Please update the approval procedures for Document XX":
xxxxxxxxxx&_title=This item was last approved a year ago. Please update the approval proceduresNotice!
Notice that the word Reminder is exchanged with the new title. The rest of the text (For Document XX) is still added to the title automatically.
The following snippet is our existing example with an added title attribute:
xxxxxxxxxx <job name="DefaultDateReminder" time="07:00"> <url name="Default"> <![CDATA[ ts/mail/reminder/generic.aspx?t=doc&_columns=%2Bapprovedate&itemtype=DOCU&approvedate=<T-0000-01-00&_resourcecolumn=author&_resourcefallback=employee@highstage.dk&_title=This item was last approved a year ago. Please update the approval procedures]]> </url> </job>
